Building A Form
A Form creates the "Interface" needed for the users to interact with your application.
Setting Up A New Form
You can set up a "Form", by following either of these methods:
Method A (From the Apps page)
Step 01 On the Apps page, select the "Forms" Tab from the "Menu".

Step 02
Click on the Create Form button at the top-right of the "Form" page.
Continue from "Step 03" of the "Method B".
Method B (From within a Workflow/Journey page)
Step 01
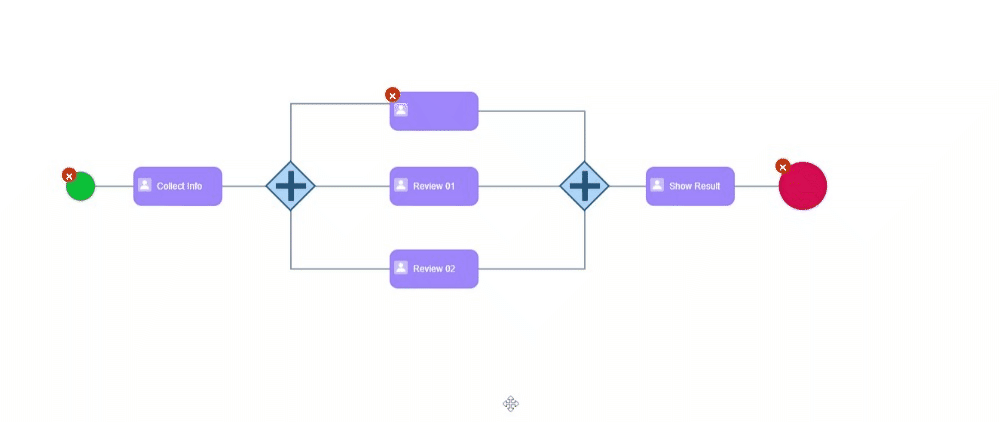
On the "Workflow" page, "Double-Click" the User Task that requires a user interface.
Step 02
Choose the Create Form tab on the pop-up window.
Note: If a Form is already built, you can choose one from the list.
Step 03 Type in the "Display Name", which should auto-fill the Name (identifier). Note: You can edit the "Name" to give it a custom identifier [Use "_" to replace the "Space".]
Step 04 Next, select a "Theme" from the drop-down list.
Step 05
Click on Save (or Create on following Method 01).
Note: The "Form Builder" should open in a "New Page".
Next, let's look at how you can [build your Form].
Form Builder
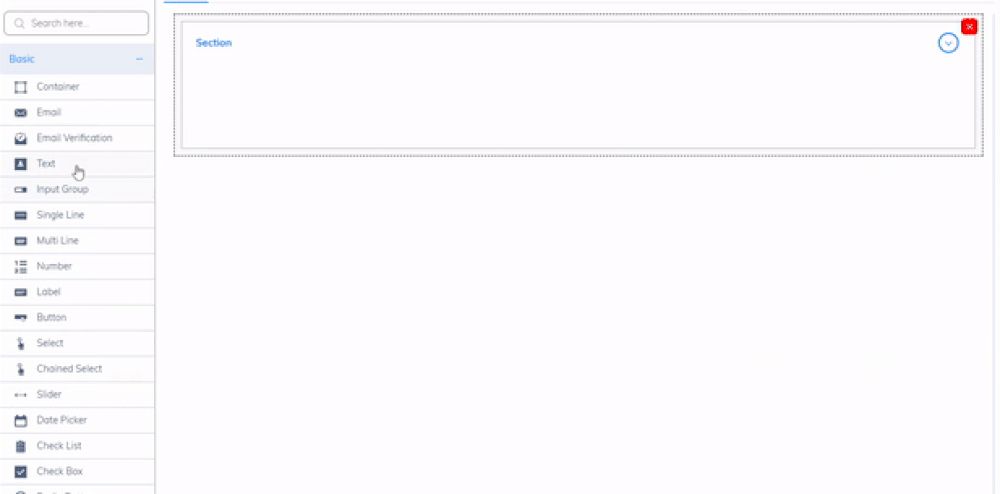
On the Form Builder page, the "Left" Panel contains all the default Widgets on the platform - all grouped under three categories: Basic, Advanced, and Special. The "Middle" section is the Form Canvas, where you will drag & drop the fields to start working on the form. And the "Right" most panel is your widget Properties section, which lets you customize the fields.
Checkout
Note: Before you can start working on the Form, you must activate the
Checkoutbutton at the "Top-Right" of the page.
Activating Checkout authorizes you with editing rights. And only the user with the editing rights will be able to make any changes to the design.
This is a very important process as it helps protect the Form from accidental edits and avoids issues arising from multi-user access. To either confirm your edits or to step out of the editing role, you must "Click" on the Commit button, which will now be available at the top-right, alongside the Save button.
So, after you are "Checked In", the Form Builder will be ready for customization.
Follow these steps to get the process going:
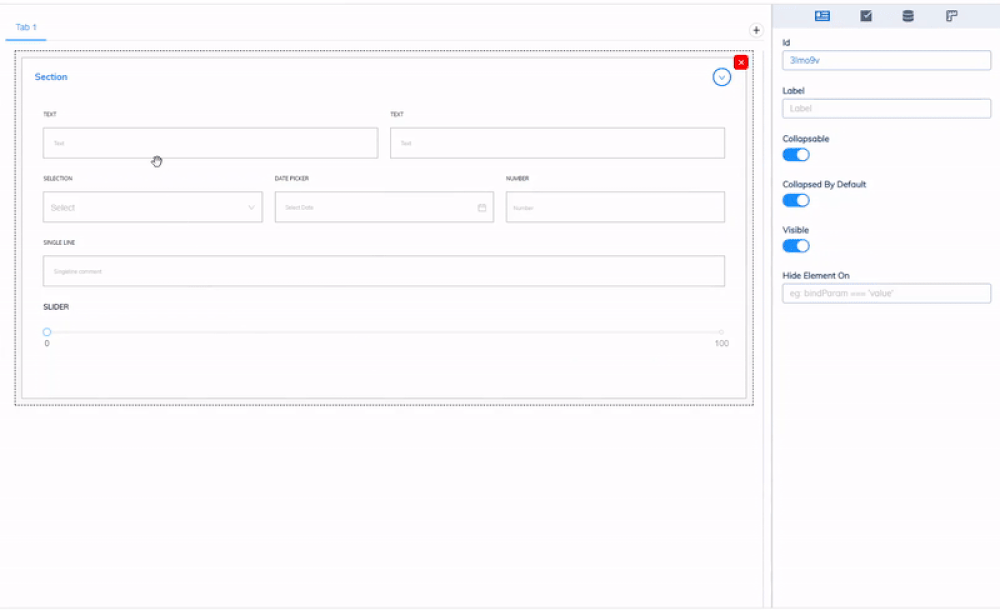
Step 01 - Placing a Container
As the form components/fields cannot be placed directly onto the canvas, you require a "Container" to hold them in. There are two types of containers available in A8Studio, 1) the basic "Container" found under the Basic category and 2) the "Section" container found under the Advanced category. Use either to create a platform for the other components to be placed on.
Note: To place any "Component", simply Click-Drag it from its "Panel" and Drop it on the Canvas.
The primary difference between the two Containers is that the Section container is collapsable while the basic Container isn't. However, the basic Container offers its components many "Layout" customization options. In contrast, Section container allows easy-to-use "Size Scaling" functionality, which ranges between "Small", "Medium", and "Large".
From here on, you can customize the form layout and design to your specific requirements - it can get as unique as you desire.

*[Let's look at an example scenario similar to the one above! - "Building a Form that's ideal for collecting user info (Name, Gender, DOB, Address, and so on)".]
Step 02 - Placing the Form Components
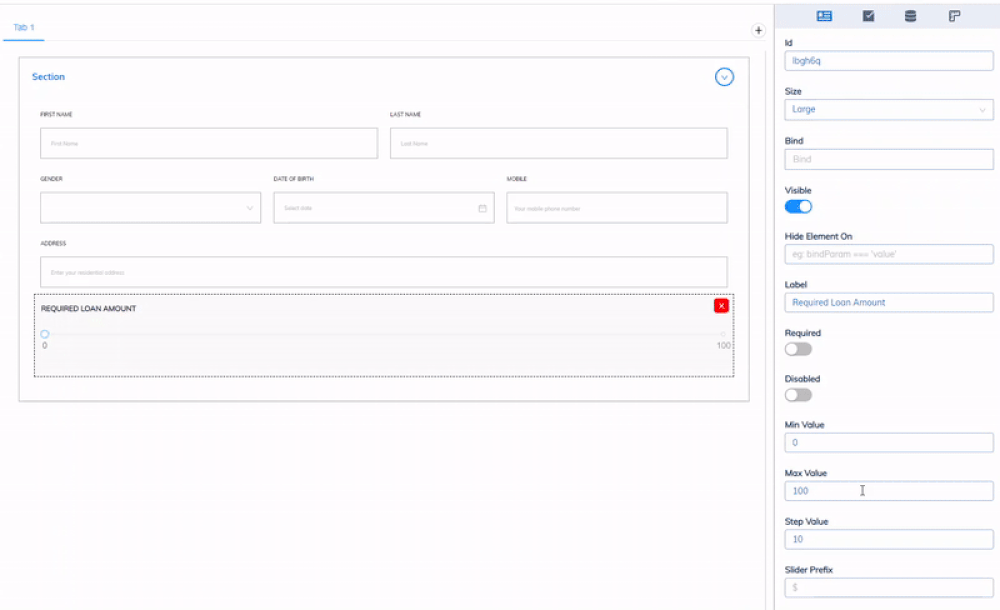
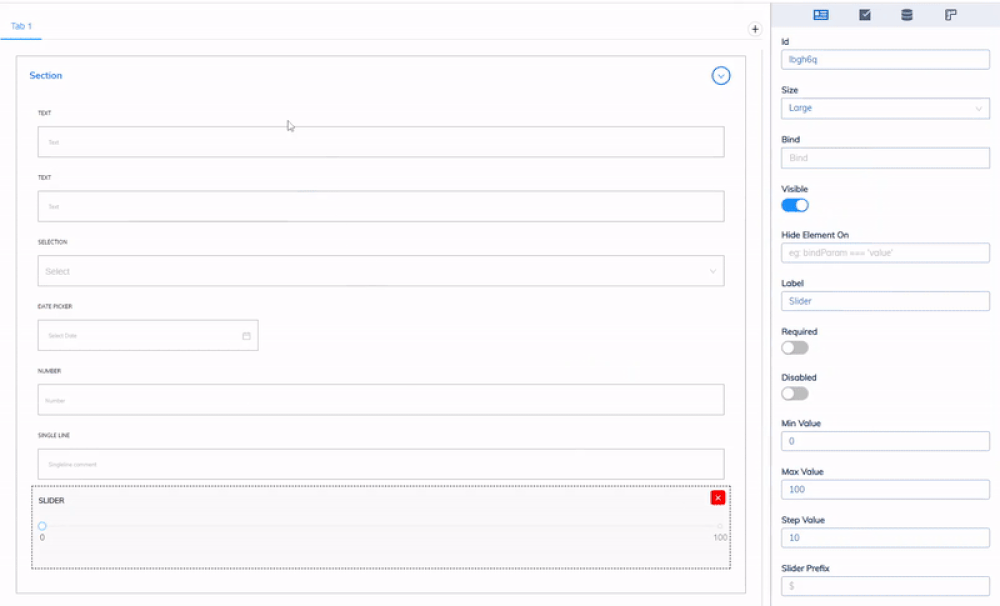
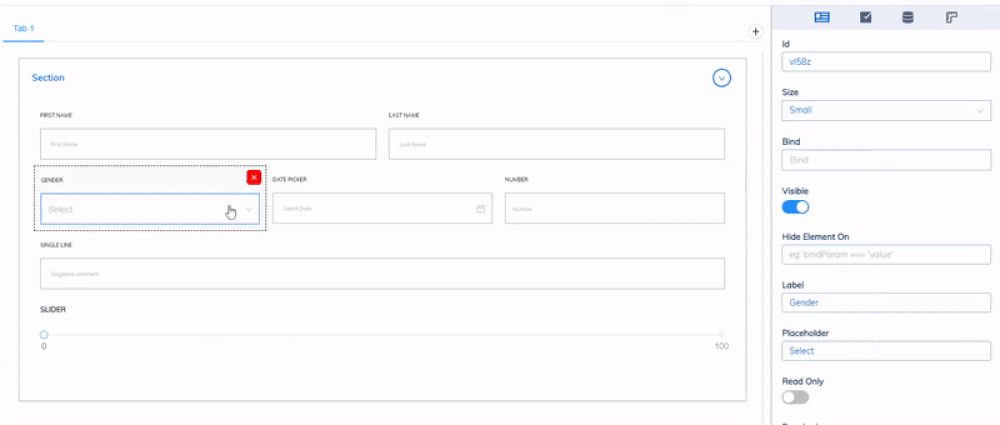
Components required for accomplishing this sample scenario include 2x Text, 1x Single Line, 1x Number, 1x Select, 1x Date Picker, 1x Slider, 1x Radio Button, 1x Check Box, and 1x Uploader.
Start by dragging the respective Components from their corresponding panels and dropping them into the container you have just placed on the Canvas. Once placed, you can shift the components around by clicking & dragging to rearrange them in the order of your requirement.
Step 03 - Editing Component Properties
To Edit the functionalities of a component, "Select" it and "Click" on the Properties tab in the "Right Panel" of the Forms page.
The general values that can be edited include Lable (Name) of the component, Placeholder Text, Bind, Visibility, etc.
Different form components have different sets of properties. (Like in this, e.g., the "Slider" component has additional properties such as Min & Max - "Values", Track & Handle - "Colors", etc.)
Resizing the Form Components - (Also, a part of the "Properties" tab) Resizing a component is pretty straightforward.
While the component is selected, "Click" on the dropdown menu under Size in the "Properties Panel" and choose between - "Small", "Medium", and "Large" from the list.
Note: This should resize the components and automatically re-arrange them within the "Section" container to maximize the space usage.
Editing Component Data
Under the "Data" tab (also a part of the "Properties Panel"), you get to add value sets to components such as Radio Button and Check Box.
Bind, too, is available under the "Properties Panel" you can assign each component with a unique "Bind" name. This enables mapping between different forms and allows the data collected with one component to be linked across forms.
Step 04 - Saving the Form Progress
"Click" on the Save button at the top-right of the page to save your progress.
Step 05 - Previewing the Form
Once you have saved the progress, "Click" on the Preview button to checkout your Form in action.
Note: You can also test its Mobile view.
Step 06 - Committing your Form
When you are satisfied with the Form, "Click" on the Commit button to finalize it and exit the "Checkout" (Edit) mode.
Q: On saving the process, does it perform any checks? Such as: Do the names within different data structures match and fit with the input of the other?
A: We would have to find that out by running the app. However, certain checks are implemented; for example: if a certain Form isn't connected or if there isn't a Form created for a particular Task, it will catch those. And would inform you with a message stating, "Please, add a Form to the Task", and so on. - Also, some DBMS errors are caught, but not all.