Creating A Workflow
Let's take a quick look at creating a simple workflow.
Once you have created an Assisted or a Solo Journey, you are ready to start with your workflow.
Begin your workflow journey:
On the "Journey" page, you should see a list of all the Journeys that you have created.
- Click the journey that you intend to work on.
- Or, click the
CREATE JOURNEYbutton to start a new journey.
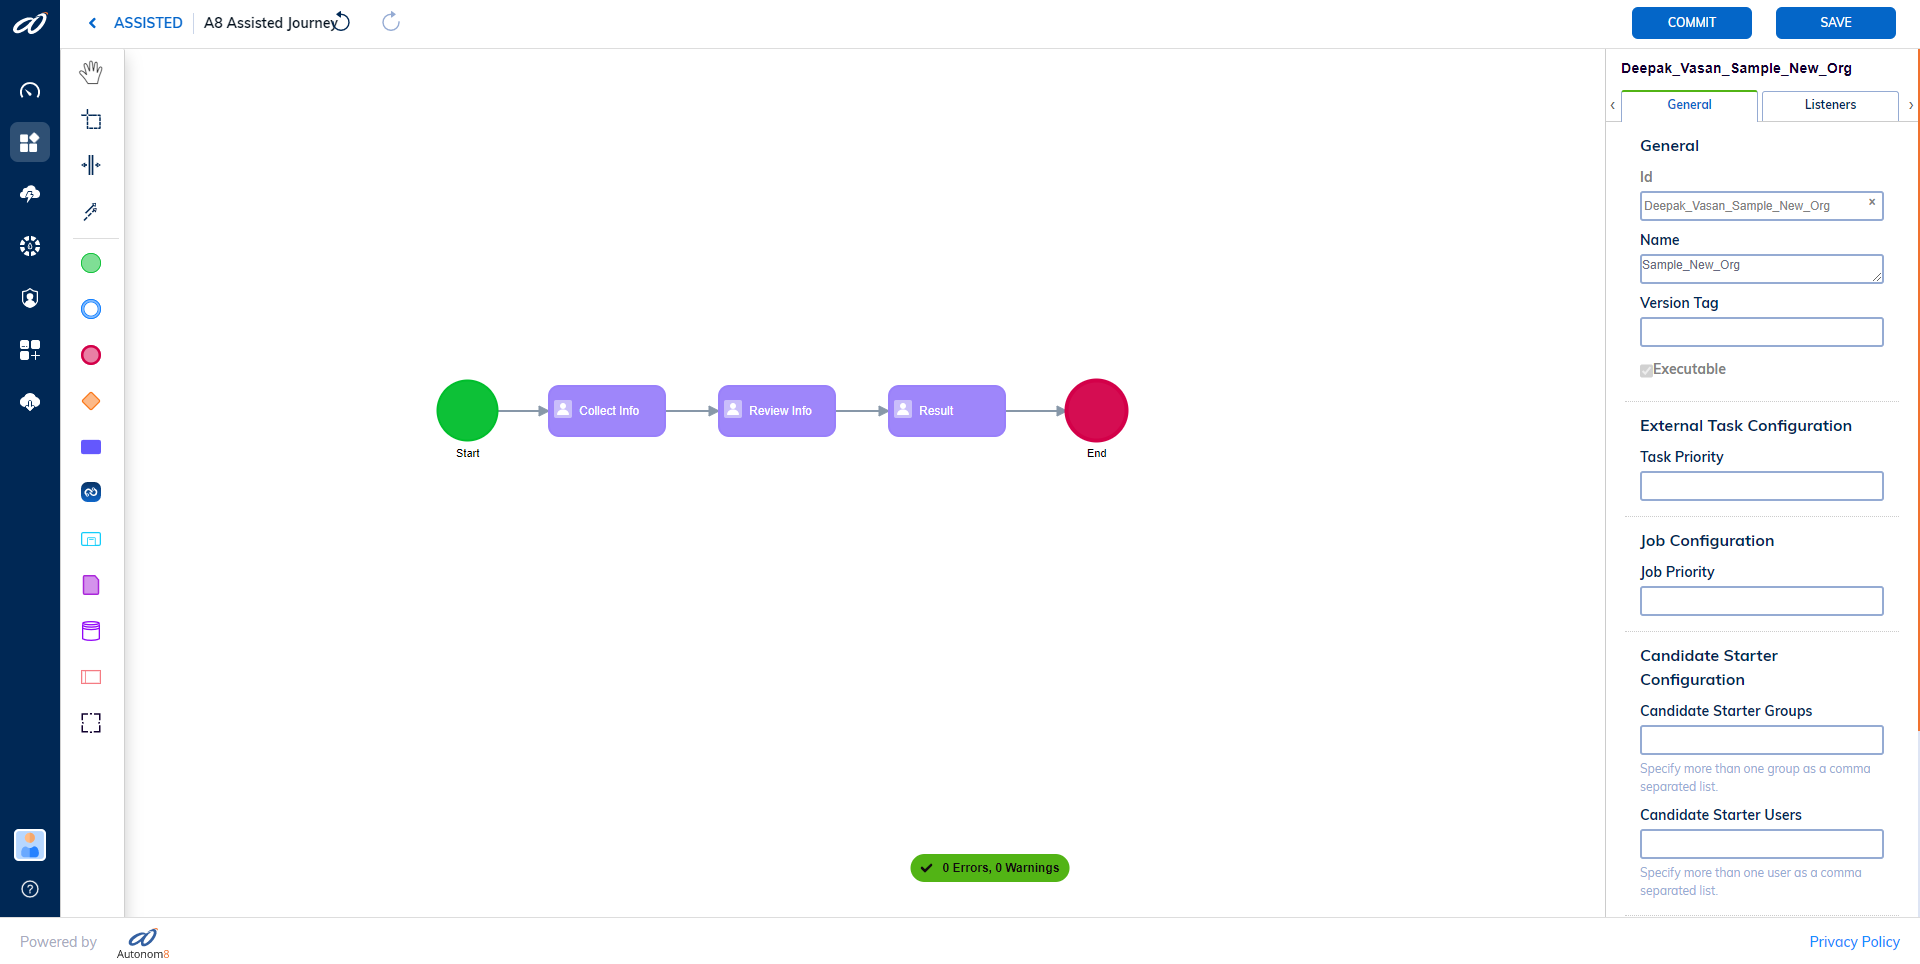
The workflow page opens with a plain canvas and the Start icon is selected by default.
This canvas is where you will be preparing the BPMN (Business Process Model & Notation) diagram - Order Fulfillment, Incident Management, Purchase Processes, and many others.
To begin adding "Tasks" to the flow, the first step you will be performing would be - "Clicking" on the Checkout button at the top-right of the page.

Activating Checkout authorizes you with the editing rights. And, only the user with the editing rights will be able to make or change the workflow.
Note: This is a very important process as it helps protect the workflow from accidental edits, and avoids issues arising from multi-user access. To either confirm your edits or to step out of the editing role, you must "Click" on the
Commitbutton, which will now be available at the top-right, alongside theSavebutton.
Tasks
There are two primary types of tasks - "User Tasks" & "System Tasks"
Note: User tasks require an interface for the users to interact with, which is enabled through the forms. And, system tasks are automated actions run by the system and don't require a user interface.
Step 01 - Creating A Task
Click the "Start" icon to activate the pop-up menu. On the menu, select "Task" (represented by a Blue Rectangle). You will notice a blank rectangular task icon added to the canvas.
Step 02 - Configuring The Task
Next, click on the newly added task and select the "Gear" icon from the pop-up menu. It should list the available configurations for the task. Each choice in this list represents a different set of actions that the task can perform. To create a task that can be assigned to an actor (user) select the "User Task", the task will now be highlighted in purple and a small "user icon" will be added to it to represent your choice.
Step 03 - Naming The Task
While the task is selected, note the "General" tab to the right of the canvas. Under it, check out the "General" section with ID and Name. To give a name to the task, fill in the appropriate field, and hit Save to protect the changes done so far.
Step 04 - Adding Multiple Tasks
Now, repeat the "Task" creation, configuration, and naming process based on the no. of actions involved within the workflow.
Step 05 - Closure To The Task
To end the workflow, Click on the final task, and select the "End" icon from the pop-up menu.