Scanner
A scanner is a tool for capturing user documents (such as Aadhaar, PAN, Driving License, Passport, Voter ID, and Cheque). It offers two ways of capturing the desired documents - (primarily) by allowing the users to upload files directly from their devices, and second (if the user is on a mobile device), they can use their device's (front/back) cameras to capture these documents. Note: The widget can also parse the data from these uploaded IDs, which can be used as needed.
Scanner Properties
| Feature | Description |
|---|---|
| Modal Header Logo | Allows adding an image (logo) to the front face of the app. To add, paste the image/logo's URL here. |
| Text | What you enter here will be displayed below the widget. |
| Align | Sets the alignment of the above text within the widget's space. |
| Document Type | Selects the document that needs to be uploaded. (Available options are: Aadhaar Front/Back, PAN, Driving License, Passport, Voter ID, and Cheque) |
| Parse | Reads the data from the scanned IDs, which can then be used in other fields. |
| Parse Bind Variables | Enabling it allows the parsed info to be assigned to a variable. |
| Masking Aadhar (Image) | Masks the cardholder's pic on the Aadhaar scan. |
| Masking Aadhar (Number) | The first eight digits of the Aadhaar no. are masked on the scan. |
Use external API
Enables the use of custom methods to carry out actions within the widget - such as "to turn on the camera", "to switch to either the back or the front camera", "to capture the image", "to either accept the clicked image", or "to go for a retake".
1) To use the clicked pic: a8forms.Scanner().useThis()
2) To go for a retake: a8forms.Scanner().reTake()
Selecting "Parse Bind Variable" implies that the following fields are displayed per their respective document type.
| Document Type | Name | ID/Acct. No. | Date Of Birth | Gender (Sex) | S/D/W Of (Father's Name) | Address | State | PinCode | Others |
|---|---|---|---|---|---|---|---|---|---|
| Aadhaar Front | ✔ | ✔ | ✔ | ✔ | - | - | - | - | Checksum Status |
| Aadhaar Back | - | - | - | - | ✔ | ✔ | ✔ | ✔ | Checksum Status |
| PAN | ✔ | ✔ | ✔ | - | ✔ | - | - | - | - |
| Driving License | ✔ | ✔ | ✔ | - | ✔ | ✔ | ✔ | ✔ | Date Of Expiry (NT), Date of Expiry (T), Date of Issue, Blood Group |
| Passport | ✔ | ✔ | ✔ | ✔ | - | - | - | - | Date of Expiry, SurName, Type |
| Voter ID | ✔ | ✔ | ✔ | ✔ | ✔ | ✔ | ✔ | - | - |
| Cheque | - | ✔ | - | - | - | - | - | - | Bank, Branch, City, District, IFSC, MICR |
Event Handlers
Event handlers allow you to set triggers for various actions based on the fired events. [Example: You can set it so that an external service is called for sorting or taking a backup of the user data when the "onParseComplete" event is staged.]
onDelete
onDelete- On deleting a file that's uploaded.
onParse
onParse- On initiating the parsing process. These are the four stages (or events) to the process, namely:
- initiated - On process initiation
- inProgress - While the process is in action
- completed - On completion of the action
- failed - If the process fails in any of these steps
onChange
onChange- On any action made within the scanner widget. (Example: When a file is uploaded.)
onParseComplete
onParseComplete- When the parsing process is completed.
Assigned variables
These are the "variables" assigned to the data that's parsed by the system:
| Document Type | On Parse (Variables, as parsed by the API) | On Parse Complete (Variables, after being sorted into the Studio) |
|---|---|---|
| Aadhar (Front/Back) | ||
| PAN | ||
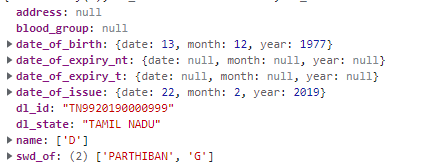
| Driving License |  | (None...) |
| Passport | ||
| Voter ID | ||
| Cheque |  |
Camera
On accessing the app via a mobile device, there's an "additional" option to capture the document over the device's camera. The steps that follow are as illustrated below:
| 01 | 02 | 03 |
|---|---|---|
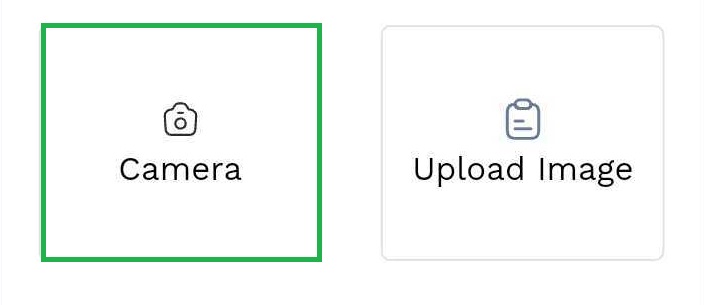
On clicking the scanner widget, you will have the option to either "Upload Image" or select "Camera". | By choosing Camera, a pop-up with a request for access to the device's camera will open. (You have to click "Allow" in order to proceed further. | Now, you can either use the front or the back camera - to change your currently selected camera, click "Switch Camera" or click "Capture" to take the picture. |
| 04 | - | 05 |
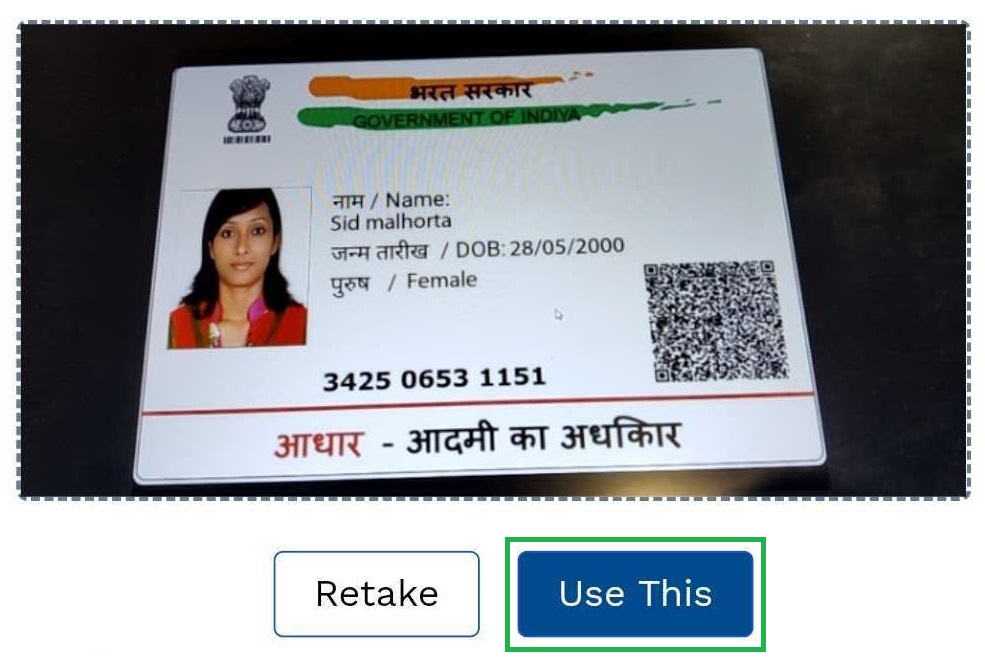
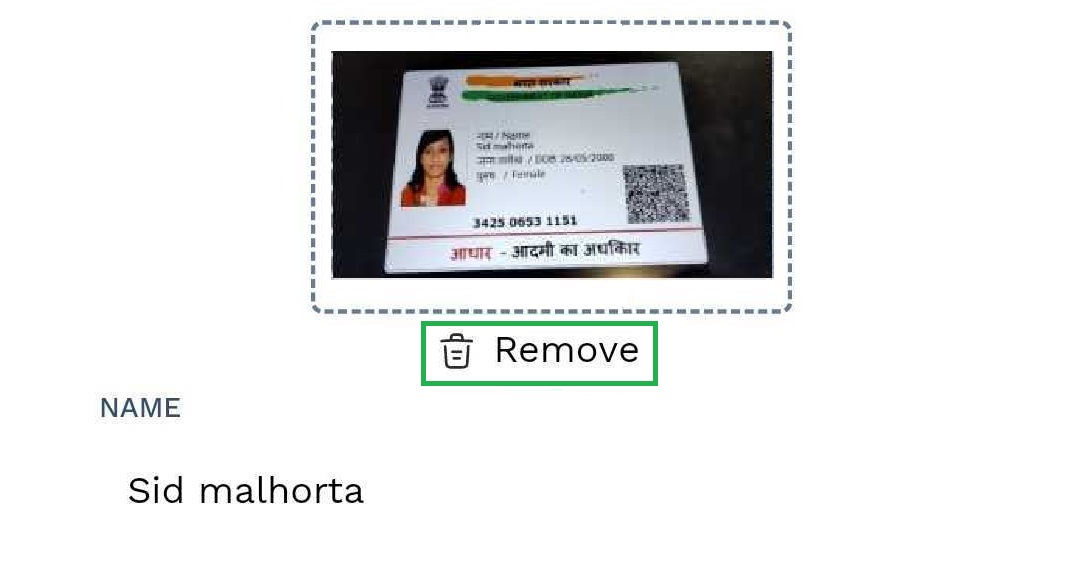
The next screen allows the users to either "Retake" or "Use This" picture as they see fit. | - | On confirming the capture, a preview is displayed. Also, the parsing of the image happens here. (You will notice the parsed data displayed on its assigned field in the following example.)  Note: Here, there's an option to "Remove" the image. Note: Here, there's an option to "Remove" the image. |